
Introduction: The Essence of Texturing in 3D Design
Hey folks, Damian here. Today, we’re going to take an in-depth look at height maps, displacement maps, and bump maps in the world of 3D modeling, particularly focusing on Blender. These are not just tools; they’re the backbone of adding lifelike textures and dimensions to your models. So, let’s not waste any time and dive right in.
Understanding the Basics: Height, Displacement, and Bump Maps
Before we jump into Blender, let’s set the stage by understanding what these maps really are. In essence, height maps, displacement maps, and bump maps are all about adding depth and texture to a flat surface. They might seem similar, but each has its unique way of transforming a model.
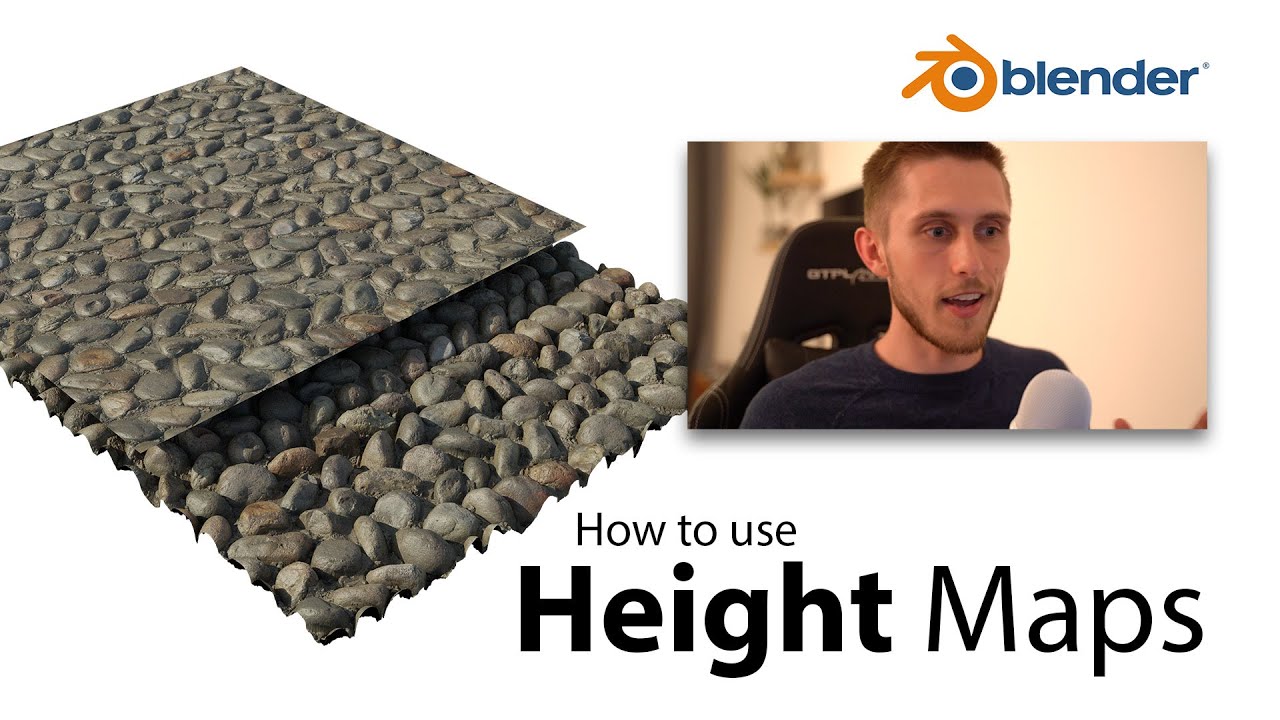
Height Maps: These are grayscale images where the lighter areas represent higher parts, and the darker areas indicate lower parts of a texture. They’re about elevating your model’s surface to new heights (quite literally!).
Displacement Maps: Think of these as height maps with a twist. They actually alter the geometry of the mesh, making the texture pop out for real, not just in appearance.
Bump Maps: Bump maps are the tricksters. They create the illusion of depth without changing the mesh’s actual geometry. It’s all about manipulating light and shadow to trick the eye.
Method 1: Bump Mapping in Blender
In Blender, using bump maps is like giving your model a quick and efficient makeover. The process involves adding a bump node and tweaking the normals to simulate depth. It’s a favorite in the gaming world for its performance efficiency – you get the look without the heavy computational load.
Method 2: Displacement Modifiers for Real Depth
When you want to go beyond illusions, displacement modifiers are your friends. By adjusting the mesh according to the height map, they add actual, tangible depth to your model. But be wary, this method can be resource-intensive. It’s a balancing act between detail and efficiency.
Method 3: Advanced Rendering for Ultimate Realism
For those chasing the pinnacle of realism, advanced rendering techniques in Blender are the way to go. Here, we combine height maps with subdivision and adaptive render modes. The result? A model that not only looks detailed but feels detailed.
The Trade-Offs: Performance vs. Realism
As with anything in 3D modeling, there’s always a trade-off. Higher realism from advanced techniques can mean heavier loads on your system. Sometimes, a simple bump map is all you need; other times, you might want to push the limits with advanced displacement.
Conclusion: Finding Your Path in Texturing
In the end, it’s all about what your project needs and what your system can handle. Whether it’s a quick bump map for a game asset or a fully-rendered displacement for a cinematic shot, Blender offers a world of possibilities.
And that’s a wrap for today! Whether you’re a seasoned pro or just starting, I hope this deep dive helps you understand these texturing giants a bit better. Until next time, keep pushing the boundaries of your 3D art.
